|
On New Year’s Eve, we shared in our Instagram stories Lindsay’s harvest table set for a dinner party. Each place setting included a black wooden charger adorned with a name. Besides being an extra layer between your plate and the table, chargers are also an easy way to dress up your table on special occasions. Check out this super easy DIY for wooden chargers that are sure to impress your guests. 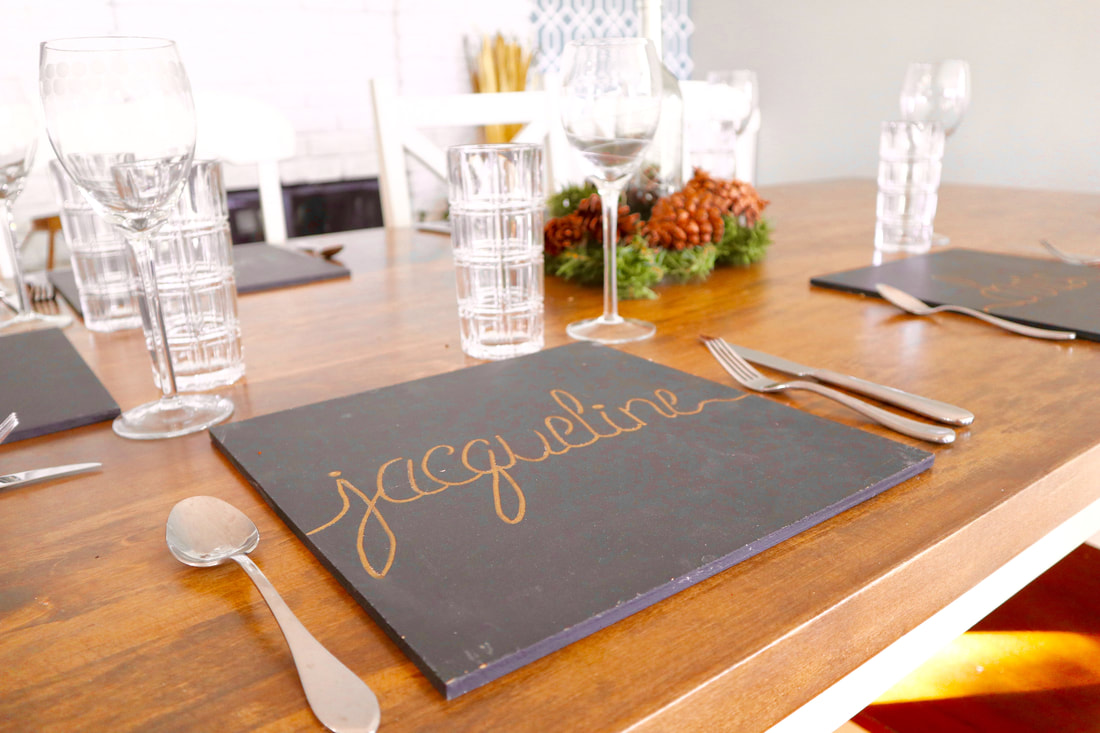 To make your own wooden chargers you’ll need:
Step One Cut the MDF into 12x12 centimetre squares. If a table saw isn’t at your disposal, a home store would be happy to do this for you. You can also adjust the measurements to your preference. We chose 12x12 because it fit our plates perfectly with just enough edge showing on all sides. You’ll also want to make sure they fit well on your table. Step Two Paint your squares with chalkboard paint using a small and smooth paint roller. Three coats should do the trick. Make sure the paint is completely dry before starting the next coat. To cut your work in half, you technically don’t need to paint the bottom side of each charger as that side will never be seen and no one will ever be the wiser. Step Three Once the paint has completely dried it’s time to write your names. Give each charger a good wash first to make sure the surface is smooth. I started with chalk before the paint pens to make sure I had the letters spaced correctly. Step Four Go over each name with your paint pen. I used gold because I liked how it popped off of the black, but there are plenty of options at your local craft store. Step Five Once the paint pen has dried, go over each charger with a damp cloth to remove any chalk that may be visible. 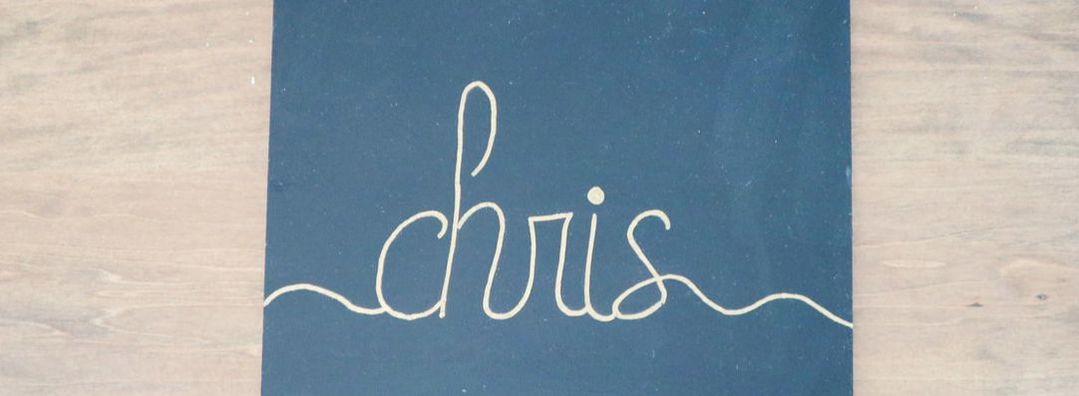 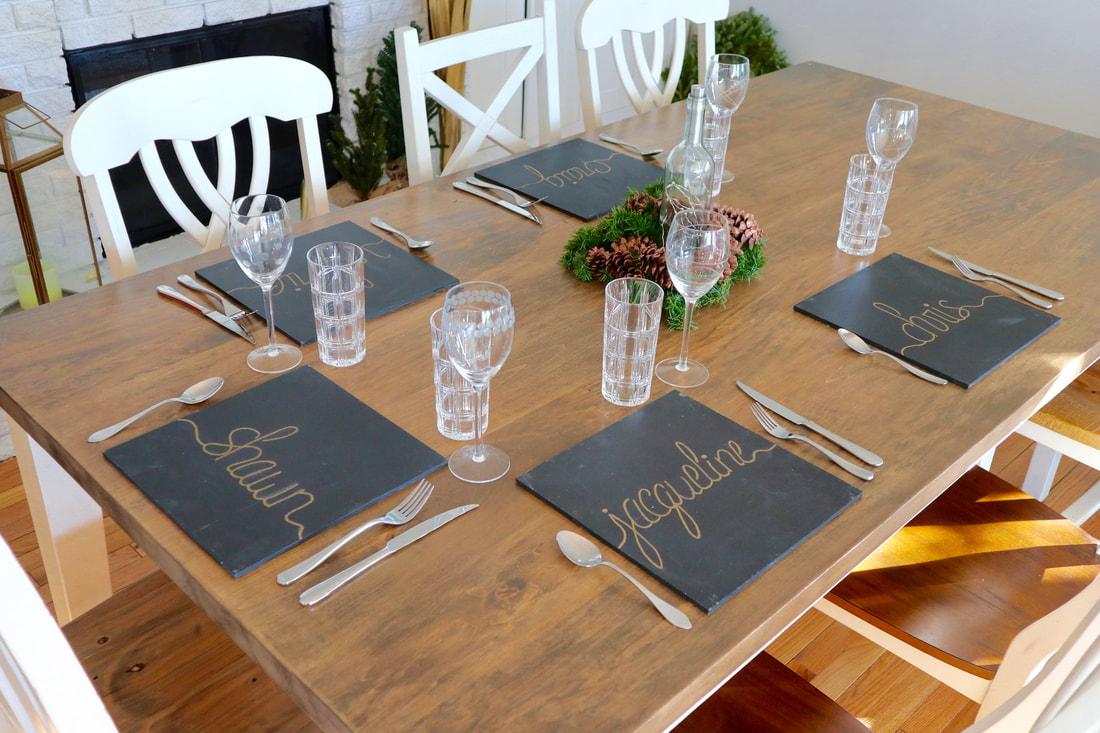 From Lindsay’s wedding to dinner parties at home, these chargers have been used on multiple occasions for an extra shot of fabulous at the table. Happy DIY-ing!
0 Comments
Leave a Reply. |
AuthorJacqueline and Lindsay are sisters and new moms living on the East Coast of Canada. Archives
October 2020
|
 RSS Feed